Is Your Garbage Disposal Leaking From the Bottom?
Author: Omar Alonso | Editor: Omar Alonso
Review & Research: Jen Worst & Chris Miller
If you've discovered your garbage disposal leaking from the bottom, it's essential to address the issue promptly to prevent further damage and maintain a hygienic kitchen environment. This comprehensive guide will walk you through identifying the problem, troubleshooting potential causes of leakage, replacing necessary parts, reassembling, and testing your garbage disposal unit for proper operation.
As we explore components such as sink flange and gasket or drainpipe connections in our troubleshooting section, you'll gain valuable knowledge on how to effectively fix your leaking garbage disposal. Furthermore, preventative maintenance tips included at the end of our guide ensure that once resolved; these leaks won't make an unwelcome return anytime soon.
Identifying the Problem
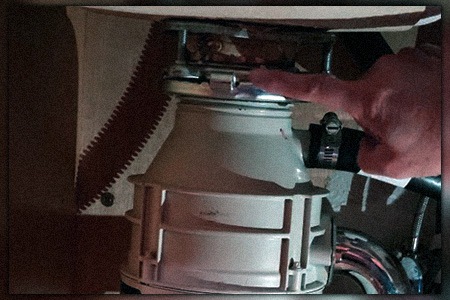
Why is my garbage disposal leaking? Identifying the cause of a leaking garbage disposal is essential to address the issue quickly and efficiently. In this section, we'll discuss common symptoms of a leaking garbage disposal, potential causes for the leak, and tools needed for repair.
Symptoms of a Leaking Garbage Disposal
- Puddles or water stains under your sink
- Foul odors coming from underneath your sink or near your garbage disposal unit
- Visible rust on parts of your garbage disposal system
- A decrease in performance when using your garbage disposal (e.g., slower grinding)
- Operating while the breaker is tripped, such as when your garbage disposal is humming
These are the leading causes of a water leak from your garbage disposal. Start here and use the process of elimination to start determining the specific cause. Make sure you're dealing with the garbage disposal and not a leaking flexible hose under your sink that's dripping onto the disposal.
Common Causes of a Leaking Garbage Disposal
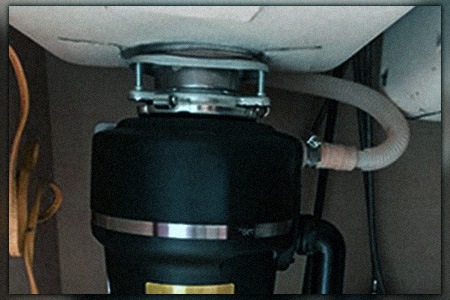
The most frequent reasons for leaks in a garbage disposal include:
- A loose sink flange: The sink flange connects the top part of the disposer to the drain hole in your kitchen sink. If not properly sealed or tightened, water can seep through and cause leakage.
- Damaged gasket: A rubber gasket sits between the flange and disposer body to create an effective seal. Over time, this gasket can wear out or become damaged, leading to leaks.
- Clogged pipes: If your garbage disposal is clogged, water can back up and eventually leak out of the bottom. Don't use Drano in the dishwasher or garbage disposal or you'll further damage the gasket.
- Cracked or damaged disposer body: A cracked or damaged garbage disposal unit will likely need to be replaced entirely to resolve any leaks.
Tools Needed for Repair
To troubleshoot and repair a leaking garbage disposal, you'll need the following tools:
- A flashlight (to help see under your sink)
- An adjustable wrench or pliers
- A screwdriver (flathead and/or Phillips head)
- Teflon tape or plumber's putty (for sealing connections)
- New parts as necessary (e.g., gasket, flange, drainpipe connections)
Replacing Parts as Necessary
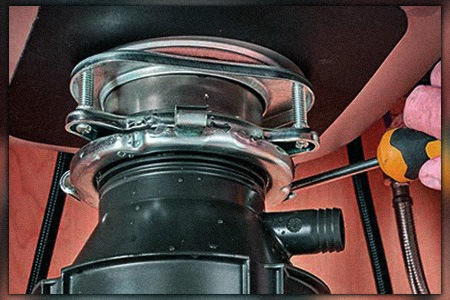
If you've identified the source of your garbage disposal leaking from the bottom, it's time to replace any damaged or worn-out parts.
Replacing the Sink Flange & Gasket
- First, disconnect the power to your garbage disposal by unplugging it or turning off its circuit breaker.
- Remove any items stored under your sink for easier access.
- Dismantle the garbage disposal unit by following the manufacturer's instructions or referring to a tutorial.
- Carefully remove the old sink flange and gasket from your kitchen sink opening.
- Clean away any debris or residue around the opening before installing a new flange and gasket set.
- Apply plumber's putty around the base of your new sink flange before inserting it into place in accordance with the installation instructions provided with your replacement kit.
Replacing the Disposal Unit
If you find that there is significant damage to either internal components such as motor bearings or external housing cracks causing leaks in your current unit, consider replacing rather than repairing.
Follow the manufacturer's instructions for installing your new garbage disposal unit, ensuring all connections are secure and leak-free. Make sure you know how to locate your breaker box if you're going to be working with raw electrical wires.
Replacing Drainpipe Connections
- If you've identified leaks at drainpipe connections, first loosen the pipe fittings using a wrench or pliers.
- Carefully remove any damaged pipes or connectors from your system. Be sure to have a bucket handy to catch any residual water in the process.
- Purchase replacement parts as needed from your local hardware store or online retailers like Home Depot.
- Reassemble drainpipes with new components, ensuring tight seals. If necessary, use Teflon tape on threaded joints for added protection against leaks.
Reassembling & Testing the Garbage Disposal
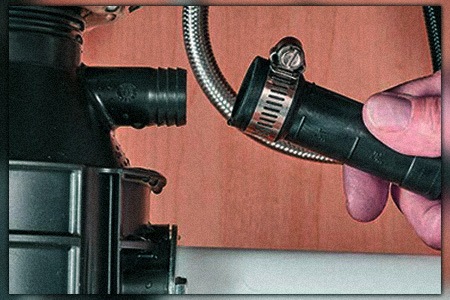
Once you have identified and replaced any necessary parts, it's time to reassemble your garbage disposal unit and test its functionality. This process will ensure that all components are properly installed, preventing future leaks or issues.
Reassembling the Garbage Disposal Unit
- Reattach the sink flange: If you had removed the sink flange earlier, apply a layer of plumber's putty around its base before pressing it back into place on your sink. Secure it with mounting screws from underneath.
- Install the gasket: Place a new rubber gasket onto the bottom of your garbage disposal unit if required.
- Mate disposal with sink flange: Align your garbage disposal with the sink flange so that they connect correctly. You may need to rotate it slightly until they lock together securely.
- Tighten mounting screws: Use a screwdriver or wrench to tighten any loose mounting screws on both sides of your garbage disposal unit.
- Couple drainpipe connections: If you had disconnected them earlier, reconnect any drainpipes using new seals as needed for proper sealing against potential leaks.
Testing To Ensure Proper Operation
To verify that everything has been successfully repaired and reinstalled, follow these steps for testing your garbage disposal system if you're experiencing your garbage disposal leaking from the bottom:
- Faucet Test: Prioritize safety by turning off the power to your garbage disposal unit. Run water from your sink faucet for a few minutes, checking underneath for any signs of leaks.
- Power Test: Turn on the power to your garbage disposal and listen carefully as it operates. If you hear any unusual noises or grinding sounds, turn off the power immediately and recheck all connections before attempting another test run.
- Dye Test: If you're still unsure about whether everything is working correctly, consider using food coloring or dye in a small amount of water poured down the drain. This will help identify if there are any remaining leaks within your system.
Preventative Maintenance Tips
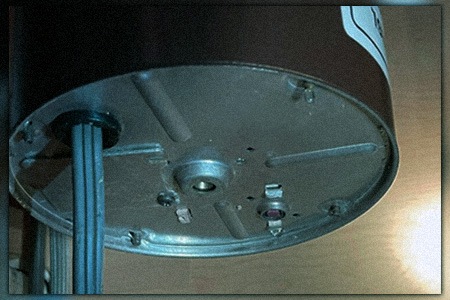
Maintaining your garbage disposal is essential to prevent leaks and ensure its longevity. By following these preventative maintenance tips, you can avoid common issues that may lead to a leaking garbage disposal from the bottom.
Regularly Cleaning Your Garbage Disposal
Cleaning your garbage disposal on a regular basis helps remove debris and buildup that could cause clogs or damage over time. To clean your unit, simply run cold water while it's operating for about 30 seconds after each use.
Additionally, you can use DIY cleaning solutions, such as ice cubes with vinegar or baking soda mixed with water, every few weeks to keep the blades sharp and eliminate any lingering odors.
Avoiding Overloading Your Garbage Disposal
- Feed waste gradually: Instead of dumping large amounts of food waste at once, feed smaller portions into the unit while running cold water.
- Avoid fibrous materials: Items like celery stalks, corn husks, and onion skins can wrap around the blades causing jams or motor strain.
- Skip grease and oil: Fats solidify in pipes leading to blockages; dispose of them in a separate container instead.
- No non-food items: Keep utensils out of reach when using disposals, as they can damage both blades and internal components if accidentally dropped inside.
Taking care not to overload your garbage disposal will help prolong its lifespan by reducing wear and tear on internal parts.
Utilizing Cold Water When Operating Your Garbage Disposal
Using cold water when operating your garbage disposal is essential for two reasons:
- Lubrication: Cold water helps to lubricate the blades, allowing them to grind food waste more efficiently.
- Solidification of fats: Hot water can cause fats and grease to liquefy, which may lead to clogs in your pipes. By using cold water, you ensure that these substances remain solid and are ground up before they have a chance to build up in your plumbing system.
Incorporating these preventative maintenance tips into your routine will help keep your garbage disposal running smoothly and reduce the risk of leaks from the bottom or other issues. For further details on preserving a functional garbage disposal system, consult this thorough guide to garbage disposal upkeep.
Garbage Disposal Leaking From the Bottom No More!
Garbage disposals are a convenient and essential appliance in any kitchen, but when they start leaking from the bottom, it can be a frustrating problem to deal with.
By identifying the symptoms and common causes of leaks, troubleshooting the issue, replacing necessary parts, and performing preventative maintenance tips regularly, you can keep your garbage disposal functioning properly for years to come.
With proper care and attention to detail during repairs and maintenance routines as well as using Worst Room’s for guidance on plumbing issues like this one—you'll have peace of mind knowing that your home's appliances are working efficiently.
In conclusion, if you notice your garbage disposal leaking from the bottom or suspect that there may be an issue with its operation, don't hesitate to take action.


