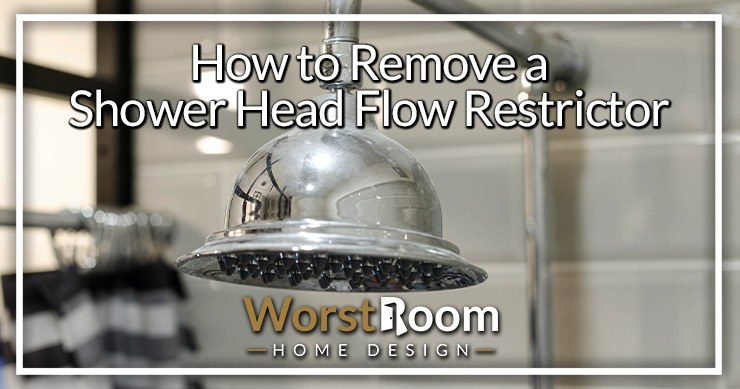
How to Remove a Shower Head Flow Restrictor
Author: Omar Alonso | Editor: Omar Alonso
Review & Research: Jen Worst & Chris Miller
Is your shower acting up? If it's blasting high pressure one day and dribbling the next, it might have to do with the flow restrictor in the shower head. A ruined shower experience is a great way to mess up your morning, leaving you feeling frustrated instead of refreshed as you head off to work. That's why we're going to discuss how to remove a shower head flow restrictor.
Fortunately, we put together a step-by-step guide on removing a shower head flow restrictor to help you solve this problem. Follow our guide, and you'll be back to enjoying your morning shower in no time.
Before You Remove the Water Restrictor in a Shower Head
The water flow restrictor in the shower head impedes the amount of water moving through the shower head. The idea behind the flow restrictor is to conserve water, a precious resource. Make sure you understand the ramifications of what you're doing.
The oldest shower heads would use around 5.5 gallons per minute (gpm). Modern shower heads without flow restrictors will output around 3.5 gpm, while the current "low-flow" shower heads use 2 gpm. Following the math and average water use, removing the water restrictor for a family of four can raise your water bill between $95.20 to $130 per year (and those are numbers from 20 years ago so account for inflation).
Many homes, especially those in water-restricted zones, have these fittings installed as standard shower head components, and removing them lifts the restrictions on flow rates moving through the unit. They don't cause water to not come out of your shower head altogether, they just slow the rate at which it does.
To remove the flow restrictor, you'll need to do the following:
- Remove the shower head from the plumbing arm
- Remove the O-ring and screen
- Pry out the flow restrictor
- Reassemble the shower head and return it to the plumbing arm
Sounds easy, right? Well, a few more steps are involved in the process, and we'll guide you through them in this post. Before you start, consider if you really want more water or if you just want to make your shower water hotter.
Top Considerations Before Removing the Flow Restrictor
Removing the flow restrictor is a straightforward process, but there are a few considerations before starting the task of learning how to remove a shower head flow restrictor and actually doing it.
Use caution when handling the plastic components, as the slightest damage alters the shower head's performance. As a precaution, shut off the water valve to your shower, eliminating the possibility of taking an unwanted shower while you're working.
Clean all components removed during the process and wipe away all residue and debris from the parts before refitting them to the shower head and plumbing arm.
Some units have multiple restrictors, so examine the unit carefully during disassembly and reassembly. Soak the shower head in vinegar while you work. This action dissolves debris in the jets, improving the shower heads' performance when reassembled.
10 Steps to Remove the Water Restrictor From a Shower Head
Please read through all 10 steps in this procedure before you begin so you don’t run into any surprises along the way. Then start back at step 1 and work your way through.
1) Gather Your Tools
You'll need the following tools for the project:
- Needle-Nose Pliers
- Adjustable Wrench or Pipe Wrench
- Tweezers
- Paperclip
- Screwdriver
- Rags
- Plumber's Tape
Make sure you have these on hand. Don’t assume that you “think you might remember” that there’s one in your tool box. Go check now and bring everything into the work area first.
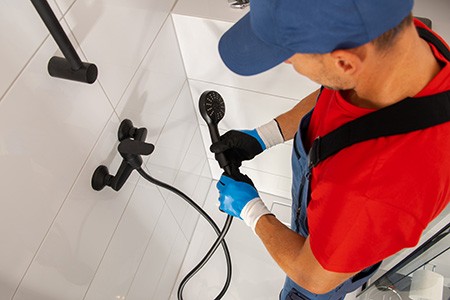
2) Turn off the Water & Remove the Shower Head
Shut off the main water valve to your property before starting the project. You might not have access to this valve if you live in an apartment. If that's the case, ensure the water faucets are tightly turned off before starting the work.
Loosen the nut holding the shower head to the plumbing arm. Remember where you put it, so you don't have to hunt for it when reassembling the unit. Place the shower head in a container with white spirit vinegar and leave it to soak while you work.
3) Remove the Filter Screen
Most of learning how to remove a shower head flow restrictor is getting all the other internal parts out of the way, starting with the filter screen. You'll notice a screen inside the shower head apparatus. Typically, you'll find the screen at the end of the handle. Pry out the screen using your pliers.
Wash it using dish soap and warm water to remove the gunk and residue buildup. Place it next to the nut for easy location during reassembly.
Don't puncture or bend the screen during removal. The mesh prevents large pieces of debris from entering the shower head, where they clog the jets.
4) Extract the O-Ring
Extract the O-ring. If the O-ring is old, it might have perished, and you'll need to replace it, or it will leak, and the shower head will start dripping after reassembly.
Use needle-nose pliers or a paperclip for the removal task. Inspect it for damage like cracks and tears, or rot. If you notice any problems, take it to the local hardware store and ask them for a replacement.
If the O-ring is in good condition, drop it into a glass of water to prevent it if drying out.
5) Extract the Restrictor
And now for the actual flow restrictor removal. The look of the flow restrictor varies, depending on the shower head model. Depending on the model, you might have to pop, pull, or pry it from the shower head unit.
The restrictor might have a tight fit to the unit, so be careful when prying it out, and don't damage any of the threads where the O-ring seats are.
6) Replacing the O-Ring

After removing the flow restrictor, it's time to reverse the process and reassemble the shower head apparatus. One of the most common mistakes with reassembly is forgetting to replace the O-ring.
Failing to replace the O-ring causes a serious leak from the shower head. Remove it from the glass of water and fit it back into the shower head using a pair of tweezers. Don't place too much pressure on the O-ring, or you'll cut it, which is common with older rings.
When you have the O-ring in place, use slight pressure from your fingers to position it back in place for a snug fit.
7) Replacing the Filter Screen
Replace the filter screen in the shower head assembly using your tweezers. Use slight pressure from your fingers to ensure it's securely in place.
8) Wrap Plumber's Tape Around the Shower Arm
Wind plumbers tape around all the threads as you replace the shower head apparatus. Plumbers tape provides a water-tight fitment of all threaded components, ensuring water doesn't leak through the shower head apparatus after you return it.
If you're performing this procedure on a new shower head, don't worry. Almost all shower heads are universal, meaning it's going to fit on the diameter of the shower arm pipe and with the same threading. Just use your teflon tape to prevent leaking.
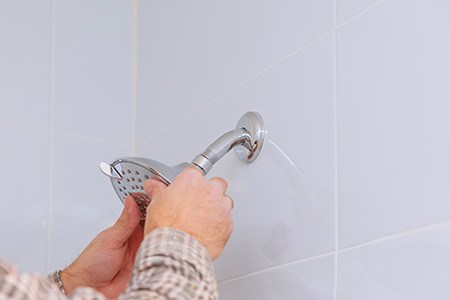
9) Replace the Shower Head Assembly
Ensure you have a tight fit to the connection when screwing it in. Remove the shower head from the vinegar and rinse it clean. Attach it to the shower head assembly.
10) Testing the Shower Head
Test the shower at different flow rates to ensure it's working properly and that no leaks are coming from the apparatus. Run the shower for a few minutes to remove excess vinegar in the jets.
FAQ’s Regarding Removing Your Shower Head Restrictor
You likely have a bunch of the following questions in your head right now after learning how to remove a shower head flow restrictor, because every time I’ve talked about this topic most of these questions get asked. So let me answer them now for the sake of all the readers who may be wondering the same.
Do All Shower Heads Feature Flow Restrictors?
Flow restrictors were mandated for new home constructions in 1992. If your shower was built after this date, it probably contains a flow restrictor in all types of shower heads in the home. Most new shower head assemblies come with restrictors installed as standard equipment.
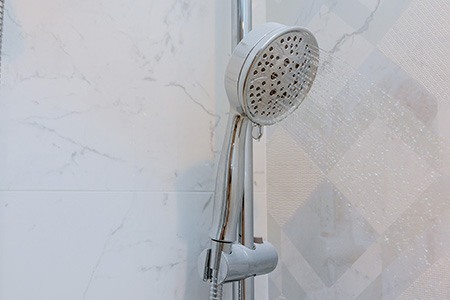
What Is a Shower Head Filter?
A shower head filter prevents debris from entering the shower head and clogging the jets. Some filters remove trace metals from the water. Typically, these models are only installed in areas with hard water sources. If you need to do so, clean your shower head without vinegar, as many people dislike the lingering smell.
What Is a Shower Head Flange?
A shower head flange is a cover for the shower arm running out from the wall. It's mainly for aesthetic, not functional, purposes. It hides the construction hole through the drywall.
How Do I Remove a Flow Restrictor if it's Stuck?
If the flow restrictor is stuck in the assembly, give the unit a gentle tap with the back of your screwdriver. If that doesn't work, jiggle it around with the pliers until it comes free.
Will I Spend More on My Water Bill if I Remove the Restrictor?
The purpose of the flow restrictor is to limit the amount of water flowing through your shower head. So, yes, you'll probably experience a higher water consumption rate, but if you have short showers, it shouldn't be that noticeable on your water bill.
Is it Legal to Remove the Flow Restrictor?

No laws in any state prevent you from removing the flow restrictor in your shower head. The government and municipality judge your water consumption by looking at the flow meter connected to your water main, not by inspecting your shower head.
How Do I Remove the Flow Restrictor From the Shower Head?
It's easy to remove the flow restrictor in your shower head if you follow the procedures outlined in this guide. After removing the shower head, O-ring, and screen, the restrictor should simply tap pout, or you might have to use your needle-nose pliers to free it.
Is There Any Risk of Damaging the Shower Head Components?
You might scratch or crack the shower head casing if you drop it on the floor from the standard shower head height when removing it from the shower arm. However, the biggest issue is with handling the filter and the O-ring. It's easy to damage these components if you use too much force when removing them from the unit.
O-rings might seem like inexpensive items, but they can be costly to replace in time since there's no guarantee the local hardware or plumbing store will have the right size O-ring for a compatible replacement. The screen is also somewhat delicate, and you might puncture it when removing it if you aren't careful.
And That’s How to Remove a Shower Head Flow Restrictor
Learning how to remove a shower head flow restrictor isn’t difficult or all that time consuming, as long as you have the patience to learn the procedure. You also need to take your time in order to make sure you don’t damage the shower head when disassembling and reassembling it. But other than that it’s a piece of cake.
You'll Also Enjoy:
- Standard Shower Bench Dimensions & Size Guides
- What's the Standard Height for Shower Doors by Code?
- The Standard Shower Valve Height From the Floor
- 9 Types of Shower Pans for Bathing in Style
- Sprinklers Won’t Turn Off? Here's What to Do
Author: Omar Alonso
 Omar has over twenty years of experience as a professional handyman and electrician, with an emphasis in HVAC, general maintenance and repairs, and interior and exterior construction. He shares this knowledge with us as a writer on these topics. He is also a voracious reader. Omar serves as editor for our editorial team, author, and as a source of endless information for our researchers. Learn more on Omar's author page and all about Worst Room here.


