How to Fix the Thermopile Voltage Low Error
Author: Omar Alonso | Editor: Omar Alonso
Review & Research: Jen Worst & Chris Miller
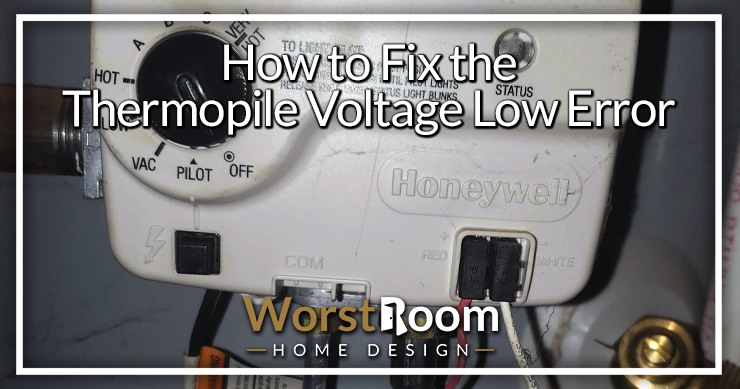
If you've encountered a thermopile voltage low error in your heating appliance, it's crucial to understand the underlying cause and how to fix it. This comprehensive guide will delve into the world of thermopiles, their functions, and common issues that lead to low voltage.
By following this guide, you can confidently tackle any challenges related to a thermopile voltage low issue in your heating appliances.
Understanding Thermopile Voltage Low Error
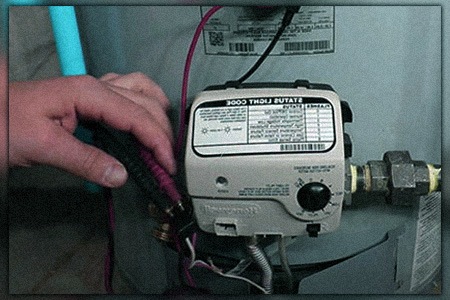
A thermopile is crucial in heating devices such as gas furnaces and water heaters. A thermopile is composed of several thermocouples that generate electricity through the conversion of heat. However, there are instances where the thermopile voltage may be low, causing issues with your heating system.
How Multiple Thermocouples Create Maximum Voltage Output
Thermocouples are essentially heat sensors that generate a small electrical current when exposed to temperature differences.
When multiple thermocouples are connected in series (forming a thermopile), their individual voltages add up to produce an increased overall output. This allows the device to power essential components like the gas control knob or ignition system on your heating appliance.
With no gas heating the water, you can still use the water heater as if it's off. In this case, you'd simply be showering in cold or lukewarm water.
Common Reasons for Low Voltage Errors
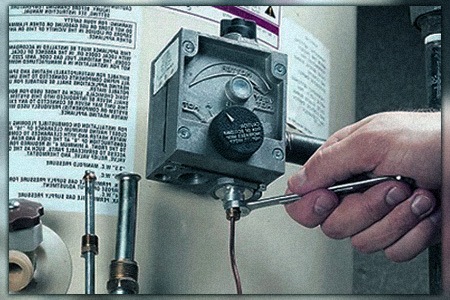
So what does thermopile voltage low mean as an error on a heating device? It means the voltage is low to the thermopile itself, which we've described above. What causes it? Here are the common causes:
Faulty Thermopiles: Over time, wear and tear can cause some parts of the device to malfunction or become less efficient at converting thermal energy into electricity. Laying a water heater on its side can cause some issues but this is not one of them.
Cold Junction Issues: If there's not enough temperature differential between hot and cold junctions within the device, its performance will suffer—leading to lower-than-expected voltage readings.
Poor Wiring Connections: Loose or corroded wires connecting various elements of your heating appliance can also lead to inaccurate measurements and reduced efficiency overall.
Inadequate Heat Flow: If there isn't sufficient heat flow across all junctions due to poor design choices or room conditions, the chances of experiencing thermopile voltage low problems increase significantly.
Diagnosing Cold Junction Issues
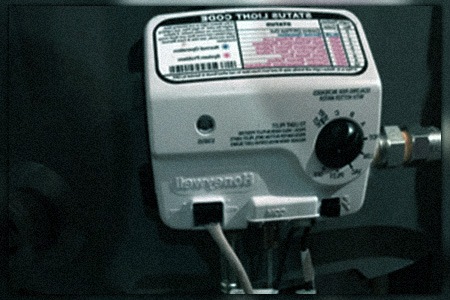
This occurs when excessive heat flows from hot junctions towards cold ones, known as "cold-junction compensation." Keeping the device in a dry and temperature-controlled environment is essential to ensure stable temperatures on both sides.
The Role of Temperature Differential in Maintaining Proper Function
Maintaining an appropriate temperature differential is a crucial factor for the efficient functioning of your heating appliance.
The difference between the hot and cold junctions determines how well your thermopile can convert thermal energy into electricity. If this gap narrows due to poor insulation or other factors, you may experience low voltage output and related issues with your water heater or type of furnace.
Maintain Constant Room Temperature: Keep your heating appliances in areas with no drastic fluctuations in ambient conditions. Avoid placing them near windows or doors that might expose them to drafts.
Proper Insulation: Ensure that all pipes, ducts, and vents connected to your heating system are adequately insulated so they don't lose heat during operation.
Avoid Moisture Buildup: Damp environments can lead to corrosion on wires and connections, which could result in faulty readings. Make sure the area around your appliance stays dry using dehumidifiers if necessary.
Tips for Preventing Cold Junction Errors
To avoid encountering a cold junction issue alongside your thermopile voltage low error, follow these helpful tips:
Cleanliness Matters: Regularly clean dust and debris around heating appliances like furnaces and most types of water heaters since they can obstruct heat flow and cause temperature imbalance.
Check for Drafts: Seal any gaps or cracks around windows, doors, and vents that could be causing cold air to enter the room. This will help maintain a constant temperature in the area where your heating appliance is located.
Inspect Insulation: Ensure all pipes, ducts, and vents connected to your heating system are properly insulated so they don't lose heat during operation. Replace damaged insulation as needed.
Testing Your Thermopile Unit
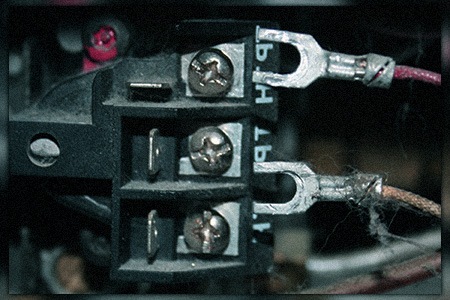
If you suspect an issue with efficacy after performing the tests mentioned above, the next step would involve removing the actual water heater altogether and conducting a closed-circuit examination instead of just poking around inside the appliance, looking for signs of wear and tear.
Using a Multimeter To Measure Voltage Readings
A multimeter is an essential tool for testing your thermopile unit's performance. A multimeter can identify any issues with your heating system by measuring its voltage. To test your thermopile using a multimeter, follow these steps:
- Shut down the heating system and unplug it from its energy source.
- Set your multimeter to read millivolts (mV).
- Connect the red probe of the multimeter to one end of the thermocouple wire while connecting the black probe to the other end.
- Note down the reading displayed on the screen; the ideal range should be between 300-500 mV depending upon the specific water heater model being used at home or office space alike.
Identifying Potential Issues Through Voltage Drops
If you notice that your thermopile's voltage reading is lower than expected and is spitting out the thermopile voltage low error, it could indicate various issues, such as faulty wiring connections or cold junction errors. Here are some common causes for low-voltage readings:
Faulty Wiring Connections: Loose or corroded wires can lead to poor electrical conductivity resulting in low-voltage readings. Check all connections carefully to ensure they're secure and free from corrosion damage before proceeding further with the troubleshooting process.
Cold Junction Errors: Excessive heat flow from hot junctions towards cold ones can cause low voltage readings. Ensure your heating appliance is placed in a dry, temperature-controlled environment to prevent such issues.
Worn-Out Thermopile: Over time, the thermocouples within the thermopile may wear out or become damaged due to constant exposure to high temperatures, resulting in decreased efficiency of the overall system, leading to lower output levels as well.
Replacing Your Thermopile
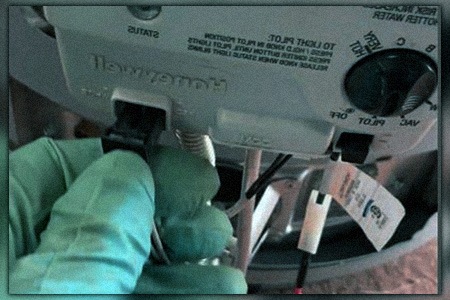
Turn off your heating system's power supply if you need to replace the thermopile. Next, remove its central cover and carefully place new wires in their designated spots according to manufacturer guidelines provided with replacement part(s).
Properly Installing New Wires and Connections
To install a new thermopile correctly, use a small screwdriver or pliers to remove old wires from their respective terminals within your water heater thermopile, water heater model itself, or other heating appliances.
Then, gently clean each terminal connection point using sandpaper or an emery cloth if signs of corrosion are present. This will help create strong contact points between new wires and existing connectors when reinstalling them later on during the assembly process itself, thereby ensuring optimal heat flow throughout the entire system once everything has been properly put back together.
When to Call a Professional
If DIY attempts fail to rectify the low-voltage issue, or if you are hesitant about tackling repairs on your own, you should contact a professional HVAC technician for an accurate diagnosis and appropriate solution.
Signs That Indicate Professional Help Is Needed
Persistent low voltage: If your thermopile voltage remains low even after trying all the suggested fixes, an underlying issue might require expert attention.
Inability to pinpoint the problem: Sometimes, it's difficult to identify what exactly is causing the low thermopile voltage. In such cases, calling in a pro will save you time and frustration.
Lack of experience or confidence: Working on heating appliances like water heaters can be dangerous if you don't know what you're doing. If you're uncomfortable handling these devices, leave it to someone with proper training and expertise.
Mandatory warranty requirements: Some manufacturers require that certified technicians service their products for warranties to remain valid. Check your water heater model's warranty terms before attempting any DIY repairs.
Thermopile Voltage Low on Your Water Heater Resolved
Overall, understanding the workings of a thermopile and troubleshooting low-voltage issues can be crucial for maintaining your home's heating systems. Signs of low voltage in a thermopile can include pilot light outages or poor performance from gas-powered appliances. Testing the voltage of your thermopile is an important step in identifying any potential issues.
If you find that your thermopile has low voltage, several potential solutions exist, including cleaning or replacing it entirely. Periodic upkeep and investigation can assist with forestalling these thermopile voltage low issues from emerging in any case.


