No Power to Thermostat? Here's the 4 Solutions
Author: Omar Alonso | Editor: Omar Alonso
Review & Research: Jen Worst & Chris Miller
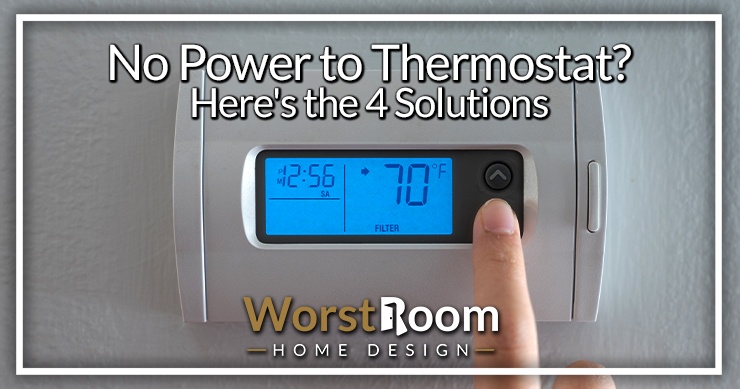
Discovering that your thermostat is not supplying electricity can be a perplexing and irritating experience. However, you can save time and money with a proper diagnosis of the power supply and corresponding solutions. Here we'll delve into various troubleshooting methods for when there's no power to your thermostat.
We'll begin by exploring ways to diagnose issues with the power supply itself, such as checking circuit breakers or examining wiring connections. From there, we'll discuss replacing a blown fuse if necessary. Finally, if all else fails and a new thermostat is needed, we'll guide you through selecting the suitable model for your home and installing it correctly.
For those who prefer professional assistance or have more complex electrical concerns, we'll provide tips on finding qualified electricians in your area.
Troubleshooting the Power Supply
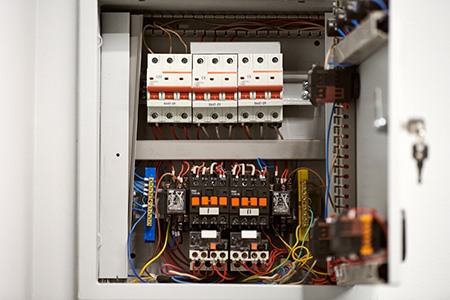
If your thermostat lost power, it is essential to identify and address the issue as soon as possible. This section will provide a guide for resolving the power supply problem of a thermostat, including inspecting the circuit breaker, assessing wiring, and examining battery function.
Checking the Circuit Breaker
Identifying the cause of a power outage to your thermostat could begin with examining the circuit breaker in your home. Locate your electrical panel and look for any tripped breakers or blown fuses that could be causing an interruption in the power supply:
- Open the electrical panel door.
- Inspect each breaker switch - if you find one between "ON" and "OFF," it has been tripped.
- To reset a tripped breaker, turn it off before switching back on again.
If your breaker is tripped and won't reset, follow our guide here to solve the issue. You likely won't have any issues though.
Examining the Wiring
If there are no issues with your circuit breakers or fuses, inspecting your thermostat's wiring may reveal potential problems such as loose connections or damaged wires:
- Turn off power at both circuit breakers/fuse boxes and disconnect the switch near your type of furnace/air handler before working on any wiring.
- Carefully remove the cover from the thermostat baseplate (consult the manufacturer's manual if needed).
Remember, safety should always be your top priority when working with electrical components. If you are unsure about any of the steps outlined above, it is best to contact a professional HVAC technician.
Replacing a Fuse
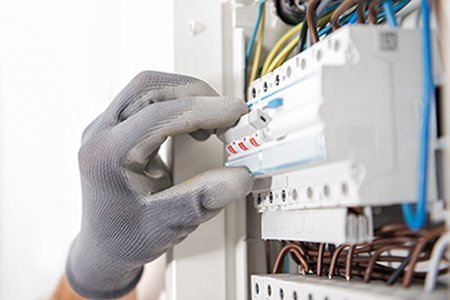
If you've checked the circuit breaker and wiring but still have no power to your thermostat, a blown fuse may be the culprit. In this section, we'll guide you through locating and replacing the fuse to restore power to your thermostat.
Locating the Fuse Box
The first step in replacing a fuse is finding your home's fuse box or circuit breaker panel. This breaker box is typically located in a utility room, basement, or garage. Once you've found the panel, consult your home's electrical diagram to identify any fuses labeled "HVAC" or "thermostat"; if unsure, contact an electrician for assistance.
Identifying & Replacing the Fuse
Turn off the power: Before touching any fuses, turn off power at both the main switch of your electrical panel and at each circuit controlling HVAC equipment.
Identify the blown fuse: A blown fuse often appears discolored with signs of melting or burning around its edges. You can also use a multimeter set on continuity mode to test if there's an unbroken path between both ends of each suspecting fuse. If there isn't continuity (the meter doesn't beep), then it means that the particular fuse has failed.
Replace the fuse: Carefully remove the blown fuse and replace it with a new one of the same type and amperage rating. You can usually find this information printed on the old fuse or in your home's electrical panel documentation.
Turn power back on: Once you've replaced the faulty fuse, turn the power back on at both the main switch and individual circuits controlling HVAC equipment. Check if your thermostat now has power.
Installing a New Thermostat
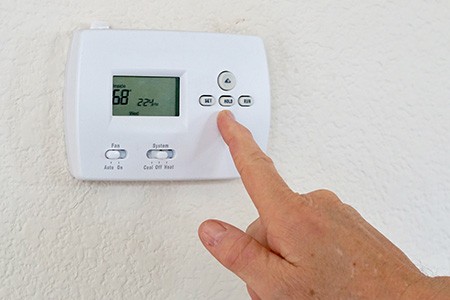
If you've determined that your thermostat isn't working and needs to be replaced, this section will guide you through selecting the right model for your home, preparing for installation, and connecting wires and mounting the unit.
Choosing the Right Model for Your Home
When selecting a thermostat for your home, consider the variety of models available - from programmable to smart and non-programmable. When choosing a new thermostat for your home, consider factors such as compatibility with your HVAC system (heating or cooling), energy efficiency features like geofencing or learning capabilities in smart thermostats, ease of use, and the installation process.
Preparing to Install the Thermostat
Shut off the power: Before starting any work on electrical systems in your home, always shut off power at the circuit breaker box to avoid electrocution risks. Make sure there is no power to your thermostat before you begin working on it.
Gather tools: You'll need some basic tools like a screwdriver set and a wire stripper/cutter tool if necessary, depending on wiring conditions during installation.
Taking pictures: Take photos of existing connections before removing the old thermostat from the wall plate so you can reference them later when installing the new one; it's helpful, especially if multiple wires are involved.
Connecting Wires and Mounting the Unit
Follow these steps to connect wires and mount your new thermostat:
Remove old thermostat: Carefully remove the old thermostat from its wall plate, making sure not to damage any connected wires.
Label wires: Use labels or masking tape to mark each wire according to its corresponding terminal on the old unit. This will make it easier when connecting them later on during the installation of the new one. If you need to strip a wire further, here is our guide on that.
Mounting wall plate: Attach the mounting plate for your new thermostat onto the wall using provided screws; ensure it is level before tightening all fasteners securely.
Making connections: Following manufacturer instructions included with your chosen model, carefully connect labeled wires into appropriate terminals on the backside of the device - this may vary depending upon the type (programmable vs. non-programmable) and brand-specific requirements such as color-coded wiring schemes (Honeywell, Emerson).
Snap-on cover & power-up system: Once all connections have been made successfully, snap the front cover onto the mounted baseplate, then restore power at the circuit breaker box so you can test functionality by adjusting temperature settings accordingly.
Hiring an Electrician for Professional Assistance
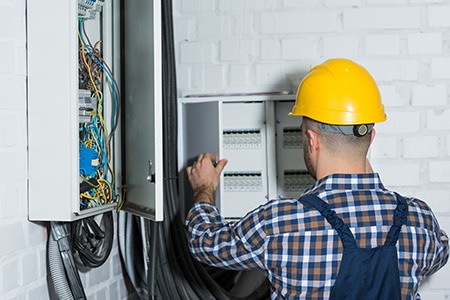
Hiring an electrician for professional assistance may be prudent if you've attempted to identify the problem with your thermostat but still lack electricity. Calling a professional electrician can help you identify why your thermostat is not getting power and restore your heating and cooling system's functionality.
Finding Qualified Professionals in Your Area
Securely and effectively resolving thermostat issues necessitates finding a qualified electrician. Reach out to those in your network, such as acquaintances, family members, and local residents, for any potential referrals of competent technicians.
Additionally, consider using online resources like HomeAdvisor or Thumbtack, which allow you to search for local contractors based on their expertise, customer reviews, and pricing.
Understanding What Services They Provide
Before hiring an electrician, it's essential to understand what services they offer related to thermostats specifically:
Troubleshooting: A skilled electrician will be able to identify the root cause of why there's no power going into your thermostat - whether it's due to bad transformer wiring or a tripped safety switch within the HVAC systems.
Repairing: If the problem lies with broken wires or components inside the electrical panel itself (such as blown fuses), then an experienced professional should be able to fix these issues quickly so that power is restored back onto your device once more.
Replacing: In some cases where fixing isn't possible because parts are too damaged beyond repair - such as when dealing with dead batteries from an old programmable thermostat - an electrician can recommend and install a new, energy-efficient model that's compatible with your AC system.
Upgrading: If you're looking to upgrade from a manual thermostat to one of the latest smart or Wi-Fi-enabled models, then it's worth consulting with an expert who knows how best to integrate these devices into your existing heating and cooling setup for optimal performance.
No Power to Thermostat Solved
In conclusion, if you are experiencing no power to your thermostat, there are several troubleshooting steps you can take before calling in a professional. These include checking the circuit breaker, examining the wiring, testing the thermostat batteries, replacing a fuse, or installing a new thermostat.
However, it is important to prioritize safety when working with electrical systems and consider hiring an electrician for professional assistance. Remember to shut off the power before starting work and avoid contact with live wires and components. If your thermostat has no power, make sure there's no power to your thermostat before you work on it!


