How to Bank a Fire, Block Wind, & Get Piping Hot Coals & Ashes
Author: Rick Worst | Editor: Omar Alonso
Review & Research: Jen Worst & Chris Miller
There's nothing particularly hard about knowing how to bank a fire, but there are some details that you'll miss if you simply watch a video or see it in action. Let me tell you the inside info to ensure your success.
Sure, we don’t have it as hard as our ancient forefathers when it comes to starting fires, anymore, but that doesn’t mean that the task is completely free from effort and special trade secrets.
Having to start and put out fires multiple times on your camping trip can be tiring and if nothing else, annoying. It’s at times like these that it helps to know how to ‘bank a fire’.
If you’re new to the game and the term has you scratching your head, worry not. You can count on this article to tell you all that you need to know every time you have to bank a campfire. Your survival could even depend on it some day.
What Is Banking a Fire?
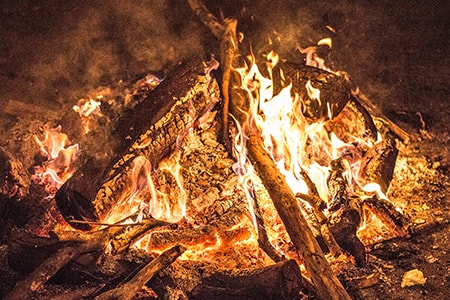
Simply put, to bank a fire means to preserve the fire’s core embers instead of letting it die down. Sounds simple enough? Well, yes, if you intend to keep that blaze going only for a few hours.
But what if you need to keep the fire going through the night, well into the morning, for warmth and safety?
Unless you intend to stay awake all night and prod the fire (and possibly venturing into the deep dark for more firewood), preserving the embers takes a little more effort and knowledge. If your fire pit won't stay lit, you need to learn how to bank it properly.
When you’re banking a fire, you’re slowing down the rate at which it’s going to burn, so that the embers are hot and glowing just right by the time you need them in the morning, either for cooking breakfast or getting another fire going, instead of starting all over again.
When you’re banking a fire, you don't have to attend to it as frequently as you'd might otherwise (though you obviously shouldn’t leave camping fires unattended under normal circumstances).
Sleeping safely without worrying about possibly starting a wildfire and conserving wood/fuel, without compromising the fire’s ability to burn through the night and keep you safe and warm is what this is all about.
When Do You Bank a Fire?
There are plenty of reasons folks want a banked fire, such as:
Sleep: As mentioned earlier, banking a campfire lets you catch some shut-eye in warmth, without worrying about the fire going out of control.
Preserving Resources: The fact that resources are limited is one of the first key lessons taught to you in 'Survival 101,' and the same applies while camping.
Being prepared to create a campfire starts with bringing the tools that help make the job easier, and that starts at home when packing your bag. Since you're hiking to some degree, you'll want to carry a light load. While packing a compact bag, save a little space for a fire-starting kit, which will include flint and steel (also bring some lighters, don't make your job harder than needed), a stormproof container with matches, and some fire-starting material like cotton balls, as an example.
Starting a fire can sometimes take hours and the job is, by no means, done once you’ve got it going. You’ve got to keep it burning. Banking lets you save precious matches and wood.
Gives You Time: This may sound ridiculously simple, but banking a fire gives you time - time to fetch water, time to take a breather, time to eat, time to answer nature’s call, time to fetch more wood, too. You won’t have to give it your constant attention and can sneak away for other tasks.
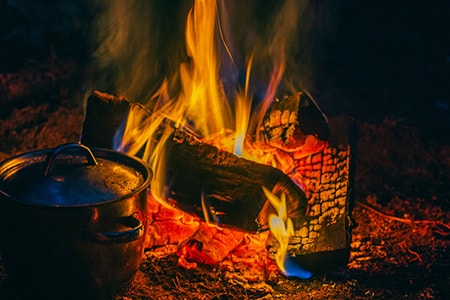
Cooking: Flames look super cool but aren’t really the wisest thing on a camping trip. They can be quite dangerous especially if they send embers flying. Banked fires burn low and slow, letting you easily cook a range of foods, whether it’s chili, soup, vegetables, or even meat.
What Do You Need to Bank a Fire?
Banking a fire requires a few things that make the process easier but not all are an absolute necessity.
Fire: Well, duh! However, ensure that you have a fire that will burn as long as you want it to, leaving behind coals and embers for later use. In case your fire is dying down, add the required amount of wood to keep it burning.
Wood: Every fire needs fuel, so ensure you have enough wood stocked up. It also helps to have good quality wood, as cheap wood creates a great blaze but leaves more ash than coal, which is a little counterproductive to the process of banking.
Fire Poker: These let you move the coal around and ensure that your fire is burning properly. Steel, owing to its high heat tolerance, is a great option, but you can use a thick stick you find near your camp. If it's damp or fresh off of a tree, all the better as it won't catch on fire.
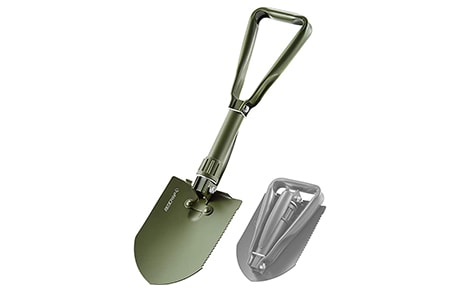
Shovel: A shovel determines the size of your fire since we're going to dig into the ground a bit and clear out brush from the area. Small hand types of shovels will simply increase the time it takes to prepare the spot, but is more convenient to carry around than big ones.
How to Bank a Fire in 6 Steps
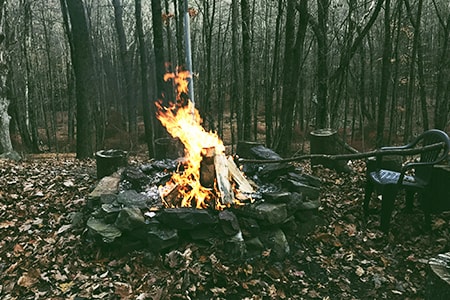
Now that you have your equipment ready, here are the steps for getting it done. Study them well and you'll never forget how to bank a fire for the night.
What we're assuming here is that you've cleared the area of dry brush, pine needles, and leaves, and perhaps even dug a slight pit to help contain your fire. Your fire has been burning and you're ready to start banking coals.
1) Prep the Fire
This means ensuring that the fire isn’t blazing. It’s died down enough to have created hot embers and ash. You're mainly looking for embers but you want to keep the ash around too. If the timing is lucky, you won't have any visible flames left either.
2) Separate the Ash & Coals
This is where your fire poker comes in handy. Using your poker or pick, separate the ash and coals by moving the ash to one side and coal to the other. There's nothing scientific here, nor do you have to be extremely meticulous.
3) Add Solid Wood Pieces
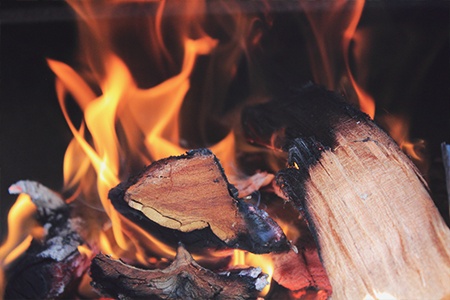
Add a few sizable wood pieces to the fire. This isn’t an absolutely necessary step, though. What it does for you is helps insulate the coals from the wind and also serves to further dry out your wood so it'll be easier to catch aflame in the morning.
Only do this if you have sufficient ash saved up for the reason described in the next step. Otherwise you'll end up restarting the fire instead.
4) Ash the Wood
Take the ash that you’ve separated and place it onto the added wood, thereby preventing the creation of flames. Embers inside the original coals and the coal forming inside the added wood will remain hot up to 15 hours or so with sufficient ash protecting them.
In case you don’t have a sufficient amount of ash for this, don’t add extra wood. Just ensure that your heap of coal and ash is large enough to keep the core embers warm and preserve your fire. You can push it all into a single pile, but don't smother the coals with the ash. Just mix it together.
5) Build a Fire Barrier
If you haven't already before building the original fire, it's a wise idea to build a bit of a barrier around the fire. This is why I suggest digging into the ground a little bit, too. Rocks are the best option if you can find them.
This does two things. It stops an unintentional fire from easily spreading and it also breaks up the force of the wind so it doesn't burn your embers and coals out too quickly.
6) Add Wood & Kindling in the Morning
The next day, simply add some kindling, wood, or dry grass to create a blazing flame, instead of having to resort to a fire starter. In case you’ve added the ash, clear it to get to the embers and either blow on them or add some dry brush to re-start your fire.
What If You Don’t Have the Equipment?
Don’t worry if you don’t have the equipment; banking a fire is as simple as building a ring of rocks or other non-flammable material around your fire. Alternately, you could also build a fire close to a dirt or rock wall.
The dirt/rock wall prevents fires from going out of control and cutting down the available amount of oxygen for the fire. This leads to a slower and more controlled burn, with lesser heat and flames.
Ultimately though, the coals and ash will be hotter than any flame you could create, which is what makes it so easy to restart the fire again. To get to this point requires the slow burn, though, and plenty of big and thick wood as fuel.
Therefore, step 1 in banking a fire is to shield your fire as much as possible from the wind and other elements. As mentioned earlier, large or medium-sized rocks will help you achieve this, arranged in a ring around your fire and lessens the chance of the fire spreading beyond the ring.
Digging down into the ground is another alternative if you don't have rocks around, but I think having both is the best, especially when it comes to safety.
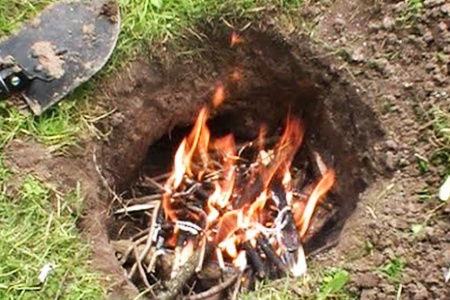
Step 2 is to get the balance right. If you paid attention in science class, you know that fire needs oxygen, fuel, and sufficient heat to burn. The absence of any of these will lead to your fire getting extinguished, especially in sub-zero temperatures.
Therefore, balancing these 3 ingredients will let you bank your fire. Too much of one will lead to leaping flames that burn through fuel quickly, whereas banking will allow for a fire that burns slowly. This makes banking especially important in situations of survival.
Of course, you may not get this right in the first go, nor are you expected to. You may have to experiment until you nail the technique. Many campers use the tactic of placing burning embers between the logs to reduce airflow and get the balance right.
By doing this, they restrict airflow without cutting it down completely, while ensuring that sufficient heat exists to keep the fire burning. In comparison to blazes, banked fires only consume a quarter of the fuel and burn for hours on the same amount of fuel that a blaze eats through in minutes.
Therefore, for a fire that burns slowly throughout the night and keeps you warm, just add embers between the burning logs. When you wake up, you can add kindling in the gaps and away you go.
Banked Fire Safety Tips
The following outdoor fire safety tips are worth keeping in mind, to make the process easier and less hazardous to you, those with you, and to the woodland critters.
Ensure that before you start a fire in any camping site that you have the permission to do so. Check the rules and regulations, especially in national parks or wilderness agencies.
Many times, fires aren’t permitted in certain areas or certain seasons, so always check—you don’t want to get slapped with a hefty fine!
Designated campsites and areas often provide fire pits for campfires, designed specifically to prevent accidental wildfires or bushfires. Use these, they're perfectly designed for banked fires. Make sure you bring along some essential fire pit tools to make your job easier and safer.
If there is no dedicated fire ring, simply build your own—all you need to do is dig out a 1-foot pit and surround it with rocks.
If you’re gathering wood, stick to twigs, logs, or branches that are already available on the ground. In many areas, cutting trees and branches is illegal. Additionally, these aren’t very efficient fuel sources—dry wood is a better source.
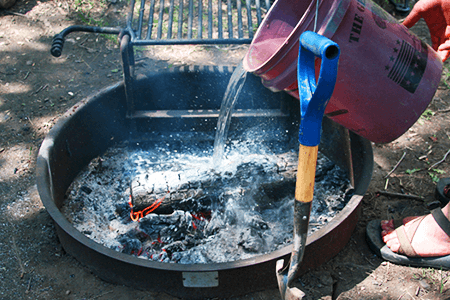
Never leave your fire unattended especially if it’s burning bright, and always put it out after you’re done. Use water to extinguish the embers and ensure that they are completely out (that means waiting to see if they are indeed out, if required).
You can also shovel dirt on the embers to be extra sure. Add dirt and water and stir it around with the shovel until you're certain the fire is extinguished, including the coals and embers.
That's How to Bank a Fire!
Remember, if you intend to use equipment to bank fires, this means carrying extra weight. This is alright if you’re going camping, but not so great if you’re backpacking. Once you know how to bank a campfire well, you won't need to bring tools. Everything you need will be around you.
That apart, banking a fire can be super simple, as long as you keep the basics in mind. Remember to always be careful, though—you probably could do without burning yourself and the world could really do without any more wildfires.


