Polyurethane Over Paint the Right Way
Author: Omar Alonso | Editor: Omar Alonso
Review & Research: Jen Worst & Chris Miller
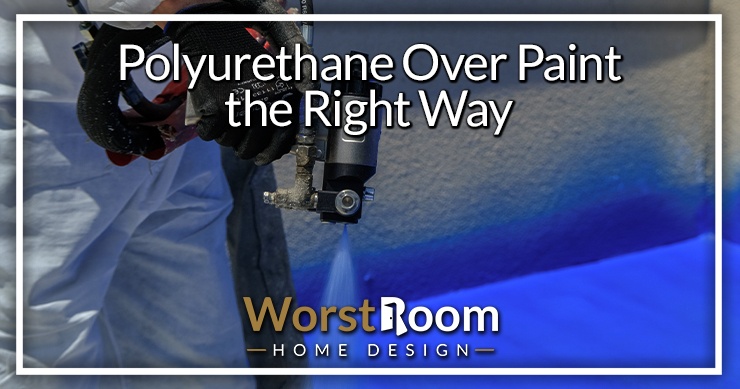
A coating of polyurethane over paint, a popular choice among amateurs and experts alike, is often used to preserve the look of painted surfaces. This advanced guide will explore the properties, types, and benefits of using polyurethane as a protective layer on your painted projects.
This article will provide a thorough overview of the preparation processes needed for painting with polyurethane, such as cleaning, sanding, applying primer or paint, and sealing with topcoats before adding the protective layer. We'll also discuss crucial steps such as cleaning, sanding, applying primer or paint, and sealing with topcoats before you apply polyurethane over paint.
Furthermore, we'll cover essential tips on choosing the right type of polyurethane for your project needs while discussing proper mixing techniques that ensure an even application. Additionally, we will address common issues that may arise during your project, like bubbles or streaks in the finish, along with solutions to fix these imperfections.
What Is Polyurethane?
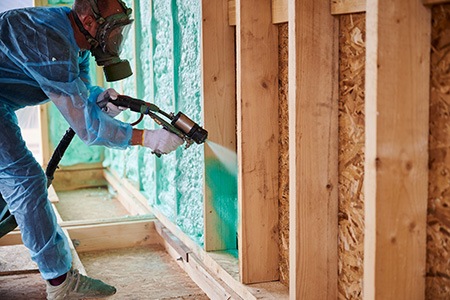
Polyurethane is a versatile and durable material commonly used in various applications, including painting projects for home improvement.
Properties of Polyurethane
Polyurethane is a manufactured resin that can create a powerful adhesion to surfaces when applied accurately. It provides excellent resistance to water, chemicals, abrasion, and UV rays. These properties make it an ideal choice for protecting painted surfaces from wear and tear while maintaining their appearance over time.
Types of Polyurethane
There are two main types of polyurethane: oil-based and water-based. Both have their advantages depending on your project needs:
- Oil-Based Polyurethanes: Known for their durability and rich finish, they tend to yellow slightly over time but provide better protection against moisture compared to water-based options.
- Water-Based Polyurethanes: Offer faster drying times with less odor than oil-based products; they also maintain color clarity without yellowing but may not be as resistant to heavy use or high humidity environments.
Beyond these basic categories, specialized formulations are designed for specific purposes, such as floor finishes or marine-grade coatings.
Benefits of Using Polyurethane
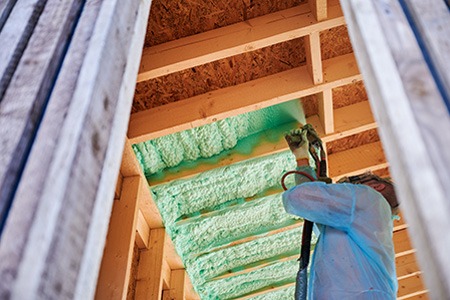
Can I put poly over paint? You bet, just like you can paint over polyurethane! The application of polyurethane over paint has several benefits that can help improve the longevity and aesthetics of your home's interior or exterior surfaces:
- Durability & Protection: Polyurethanes form a tough, flexible film that protects painted surfaces from scratches, stains, and moisture damage.
- Enhanced Appearance: Applying a polyurethane coating can add depth and richness to the color of your paint while providing a smooth, even finish.
- Ease of Maintenance: A well-applied polyurethane coat makes cleaning easier by creating a surface that is more resistant to dirt accumulation and can be wiped clean with minimal effort.
Preparing the Surface for Painting With Polyurethane
Can you put polyurethane over paint? Yes, but before applying it, it's essential to properly prepare the surface to ensure a smooth and long-lasting finish.
Cleaning & Sanding the Surface
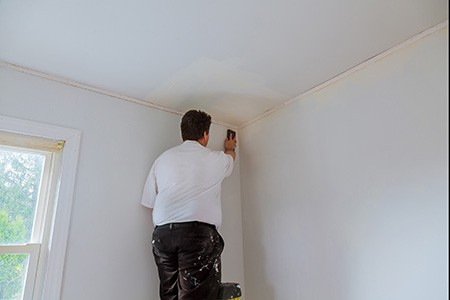
For optimal adhesion, cleaning the surface of any dirt, grease, or debris before sanding is important. You can use a mild detergent solution along with a soft cloth or sponge for this purpose. After cleaning, allow the surface to dry completely before sanding.
Sanding helps create an even texture on which polyurethane can adhere better while also removing any loose paint flakes or imperfections from previous layers of paint.
Once the surface is dry, use medium-grit (120-150 grit) sandpaper followed by fine-grit (220-240 grit) for a smooth finish before donning protective gear. Remember to wear protective gear such as gloves and goggles during this process.
Applying Primer & Paint
A high-quality type of primer is crucial when painting surfaces coated with polyurethane since it provides additional adhesion between the paint layer and substrate material like wood or metal. Polyurethane on painted wood is fine, but use a primer.
Choose an appropriate primer based on your project's specific needs, then apply one coat evenly following manufacturer instructions.
Once the primer has dried, apply your chosen paint color in thin and even coats. Utilizing a top-notch acrylic or latex paint for ideal outcomes is wise. Allow each coat of paint to dry thoroughly before applying additional layers as needed.
Applying a Sealant or Topcoat
Applying a sealant or topcoat is recommended for a more durable and aesthetically pleasing finish. People even wateproof plywood to seal it depending on the project.
Various types are available on the market, such as water-based polyurethane and oil-based polyurethane. Choose one that suits your project requirements and follow manufacturer instructions for application methods (brushing, spraying) and drying times between coats.
Applying Polyurethane Over Paint
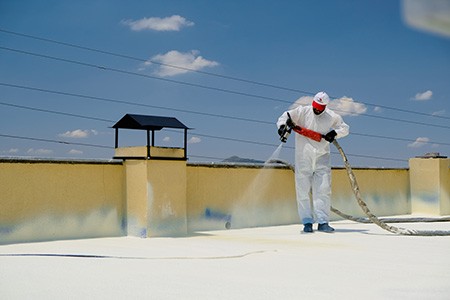
Utilizing polyurethane over paint is an ideal approach to secure and upgrade the look of your painted surfaces. To ensure the best results, proper selection and application of polyurethane with adequate curing time is paramount.
Choosing the Right Type of Polyurethane for Your Project
The first step in applying polyurethane over paint is selecting the appropriate product based on your needs. There are two main types of polyurethanes: water-based and oil-based.
Water-based polyurethanes have lower VOCs (volatile organic compounds), dry faster, and offer easier cleanup with soap and water. On the other hand, oil-based polyurethanes provide a more durable finish but take longer to dry and require mineral spirits or paint thinner for cleanup.
- Water-Based: Ideal for light-colored paints or projects where you want minimal yellowing over time.
- Oil-Based: Best suited for darker colors or high-traffic areas that need extra durability.
Mixing & Applying the Polyurethane Over Paint
To ensure the proper application of polyurethane over paint, follow these steps:
- Mix well: Stir your chosen poly thoroughly before use, as some ingredients may settle at the bottom during storage.
- Select an applicator: Choose a high-quality brush, foam applicator, or spray can to apply the polyurethane. The choice depends on your project's size and complexity.
- Apply thin coats: When applying polyurethane over paint, it is essential to use thin coats for even coverage and faster drying times. Apply at least two to three coats with sufficient drying time between each coat (refer to the manufacturer's instructions).
- Sand between coats: Lightly sand the surface using fine-grit sandpaper (220-320 grit) after each coat has dried completely. This step ensures proper adhesion of subsequent layers and helps achieve a smooth finish. You can use a powered type of sander but take your time.
- Clean before final coat: Remove any dust or debris from the surface before applying the final layer of polyurethane.
Finishing Touches & Curing Time
The curing process plays an essential role in achieving a durable finish when applying polyurethane over paint. Allow enough time for each layer of polyurethane to dry according to the manufacturer's recommendations—typically around 24 hours per coat for water-based products and up to 72 hours for oil-based ones.
After you've applied all necessary coatings, allow additional curing time (usually one week) before subjecting your painted surfaces to heavy use or cleaning.
Note that temperature, humidity levels, ventilation, and thickness of application may affect drying times, so adjust accordingly based on your specific conditions.
Troubleshooting Polyurethane Over Paint Projects
While applying polyurethane over paint can provide a durable and attractive finish, you may encounter some common issues during the process.
Dealing with Bubbles, Streaks, & Other Imperfections in the Finish
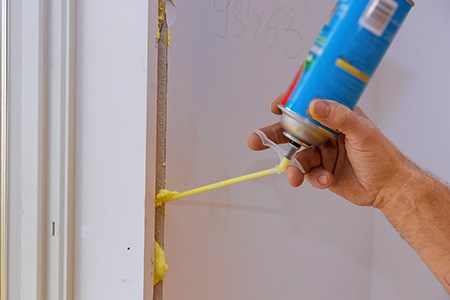
Bubbles or streaks in the polyurethane finish can detract from its overall appearance. To avoid these imperfections:
- Maintain proper temperature and humidity levels: Ensure that your work area is well-ventilated and maintains a consistent temperature between 65°F - 75°F (18°C - 24°C). High humidity levels can also cause bubbles; try to keep it below 50% if possible.
- Avoid shaking the polyurethane container: Shaking introduces air into the product, which leads to bubbles forming when applied. Instead of shaking, gently stir it using a clean stirring stick before application.
- Sand between coats: Lightly sanding between each coat helps eliminate any imperfections, such as dust particles or uneven areas, while promoting better adhesion for subsequent layers.
Removing Excess or Unwanted Polyurethane From Surfaces
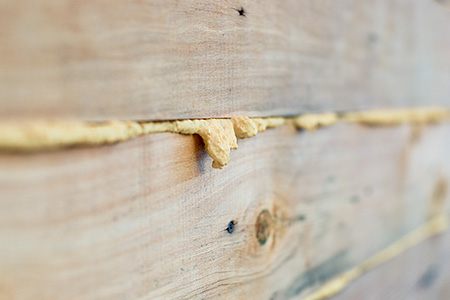
In some cases, you may need to remove excess polyurethane or correct mistakes made during application. Here are a few tips for handling these situations:
- Wipe off wet polyurethane immediately: If you notice any drips or runs while the finish is still wet, use a clean cloth to gently wipe them away before they have a chance to dry and harden.
- Sand down dried polyurethane: For areas with hardened excess material, carefully sand it down using fine-grit sandpaper (220 grit) until the surface is smooth and even. Be cautious not to damage the underlying paint layer. This Old House provides detailed instructions on how to remove dried polyurethane safely.
- Clean up spills promptly: If you accidentally spill some of your product onto unwanted surfaces like floors or furniture, act quickly by wiping it up with a damp cloth, followed by soapy water if necessary. Check out this guide for removing spilled poly from laminate flooring as an example.
Polyurethane Over Paint the Proper Way
In summary, polyurethane is a sturdy and adaptable material that can be utilized to safeguard painted surfaces from harm. For a successful and attractive finish, select the right type of polyurethane for your project, prepare the surface adequately, and apply the polyurethane over paint appropriately.


