SharkBite Fitting Leaking? Here's Why & The Fix
Author: Omar Alonso | Editor: Omar Alonso
Review & Research: Jen Worst & Chris Miller

If you have ever used SharkBite fittings in your plumbing projects, you know how convenient and easy they are to install. They are push-to-connect fittings that save you time and money by eliminating the need for soldering, gluing, or threading. Sometimes you'll discover your SharkBite fitting leaking, though.
They could be better in some cases (or due to user error) and can sometimes leak, and this can cause water damage, mold growth, and high water bills. This article will help you understand why SharkBite fittings leak and how to prevent it.
What Are SharkBite Fittings & How Do They Work?
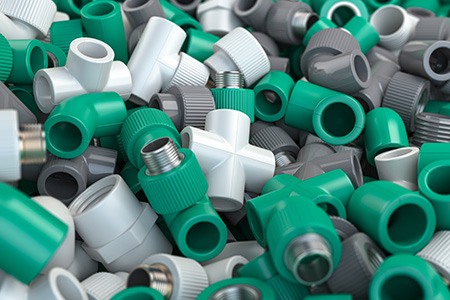
SharkBite fittings are a quick and easy way to connect different pipes without soldering, gluing, or clamping. They have a brass body with a rubber seal, and a metal ring grips the pipe firmly. You need to cut, deburr, mark the pipe, then push it into the fitting until it clicks.
To remove it, you need a special tool that releases the ring. SharkBite fittings work with most pipes but not with gas lines, fire sprinklers, or pipes in extreme weather. Always follow the instructions and codes before using them.
Common Causes of SharkBite Fitting Leaks
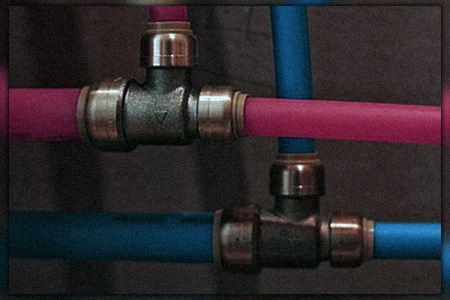
SharkBite fittings are designed to create a leak-proof seal, but they can sometimes leak for various reasons. Some of the common causes of SharkBite fitting leaks are:
Improper Installation:
If the pipe is not inserted fully into the fitting, or if the pipe is not cut straight, deburred, or cleaned properly, the fitting may not seal correctly and may leak over time. A SharkBite leak is usually do to user error like this.
Physical Damage:
If the fitting or the pipe is bent, cracked, scratched, or corroded, the seal may be compromised and may leak. This can happen due to improper handling, storage, or installation of the fitting or the pipe. This has been the cause of many a SharkBite connector leaking.
Paint Interference
If the pipe is painted near the end that goes into the fitting, the dried paint may interfere with the O-ring seal and cause it to leak. This can be avoided by removing any paint from the pipe before inserting it into the fitting.
O-Ring Failure
If the O-ring inside the fitting is damaged or missing, the fitting will not be able to create a watertight seal and will leak. This can happen due to wear and tear, exposure to chemicals or UV rays, or manufacturing defects. These can dry rot and become a main source for a SharkBite fitting leaking.
How to Fix a Leaking SharkBite Fitting
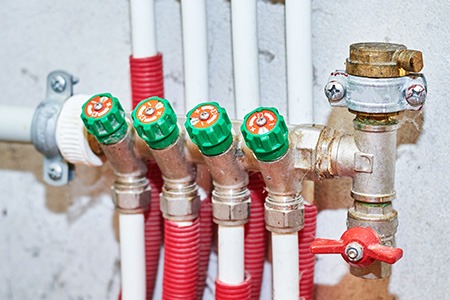
If you notice a leak in your SharkBite fitting, try to fix it as soon as possible to prevent water damage and waste. Here are some steps you can follow to fix a leaking SharkBite fitting:
1) Turn off the water supply to the leaking fitting and drain any excess water from the pipes.
2) Identify the source of the leak by inspecting the fitting and the pipe for any signs of damage or paint interference.
3) Remove the pipe from the fitting using a SharkBite disconnect clip or tong to release the gripper ring. You can also use an adjustable wrench and your fingers to push in the cufflink part of the fitting and pull out the pipe.
4) Check both the pipe and the fitting for any damage or debris. If you find any cracks, scratches, corrosion, or paint on either of them, you may need to replace them with new ones.
5) If both the pipe and the fitting are in good condition, you can reinsert them into each other. Ensure you deburr and clean both ends of the pipe before inserting them into the fitting. Use a permanent marker or a SharkBite depth gauge tool to mark the insertion depth on the pipe. Push both ends of the pipe into the fitting until they reach the mark.
6) Turn on the water supply and check for SharkBite leaking again. If the leak persists, you may need to contact a professional plumber for further assistance.
How to Prevent SharkBite Fitting Leaks in the Future
To prevent SharkBite fitting leaks in the future and any other SharkBite fitting problems, you should follow some best practices and tips to help you avoid common problems and issues with these fittings. Here are some of them:
Use the right tools: You should use the appropriate tools to cut, deburr, and clean your pipes before inserting them into the fittings. You should also use a SharkBite depth gauge tool or a permanent marker to mark the insertion depth on your pipes. This will ensure your pipes are properly prepared and inserted into the fittings.
Use the right pipes: You should use compatible types of pipes for your SharkBite fittings, such as copper, CPVC, PEX, PE-RT, or SDR-9 HDPE. You should also avoid using painted, sanded, or deformed pipes that can interfere with the fittings' seal or grip.
Use the right fittings: You should use the correct size and type of SharkBite fittings for your pipes and applications. You should also avoid using damaged, worn-out, or reused fittings that can compromise the seal or the grip of the fittings. Using the wrong size will lead to SharkBite fitting leaking.
Follow the instructions and codes: You should always follow the manufacturer's instructions and local codes when using SharkBite fittings for your plumbing project. You should also check the temperature and pressure ratings of your fittings and pipes and ensure they match your system's requirements.
Inspect and test your fittings: You should always inspect and test your SharkBite fittings for leaks before and after using them. You can use a SharkBite disconnect clip or tong to remove and reconnect your pipes if you need to adjust or fix them. You can also use a leak detector spray or a soap solution to check for any bubbles or drips around your fittings.
By following these tips and best practices, you can prevent SharkBite fitting leaks in the future and enjoy a reliable and convenient plumbing system.
Pros & Cons of Using SharkBite Fittings
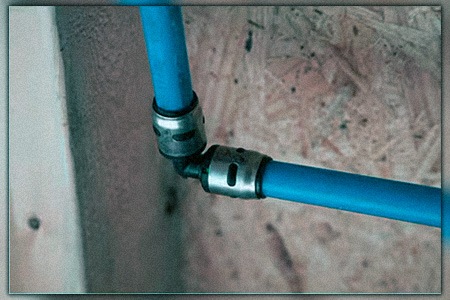
SharkBite fittings have some advantages and disadvantages that you should consider before using them for your plumbing project. Here are some of them:
Pros
- Saves money: SharkBite fittings can save you money on costly repairs and installations by eliminating the need for soldering, gluing, or hose clamping.
- Saves time: They can save you time by quickly and easily connecting or disconnecting pipes without any tools.
- Easy to use: These fittings are easy to use for anyone, regardless of their plumbing skills or experience.
- Versatile: SharkBite fittings are versatile and compatible with the most common types of pipes, such as copper, CPVC, or PEX.
- Durable: They're durable and made of high-quality materials, such as brass, stainless steel, and rubber. They can withstand high temperatures and pressures, as well as corrosion and chemicals.
Cons
- Expensive: SharkBite fittings are more expensive than other types of plumbing fittings, such as soldered or crimped ones.
- Not suitable for some applications: They're not suitable for some applications, such as gas lines, fire sprinkler systems, or pipes exposed to direct sunlight or freezing temperatures.
- Prone to leaks: They may be prone to leaks if they are not installed properly or if they are damaged over time. Some of the common causes of leaks are improper insertion depth, physical damage, paint interference, or O-ring failure.
- Hard to remove: SharkBite fittings may be hard to remove if installed in tight spaces or stuck due to corrosion or debris. You may need a special tool or a wrench to release them from the pipe.
SharkBite Fitting Leaking No More
SharkBite fittings make connecting pipes easy and fast without soldering, gluing, or clamping. They can help you save time and money on your plumbing projects. But they also have some limitations you need to know before using them.
Always follow the instructions and codes and check frequently so you don't find your SharkBite fitting leaking often. If you need clarification or have questions about SharkBite fittings, ask a professional plumber for help.


